I have been seeing a chiropractor for several years now. I’m not sure how well it works. It seems to help for a few days, but then I’m back to where I started. He always recommends using an ice pack instead of heat. But I love my heating pad I told him! He said ice is better for inflammation. Darn! I decided to make my own ice pack. It is so easy and I’m going to show you how to make an easy diy ice pack. There are actually three ways to make an ice pack. I chose one for now.
Using ice has so many benefits. It can help with pain, swelling and inflammation. It’s also good for muscle aches and pains. I use it a lot on my shoulders and neck where I get most of my pain. Ice packs numb the area similar to a local anesthetic.
Make sure to always use a cloth between you and the ice pack. Only leave the ice on for no more than 20 minutes. You can apply every 20 minutes as needed.
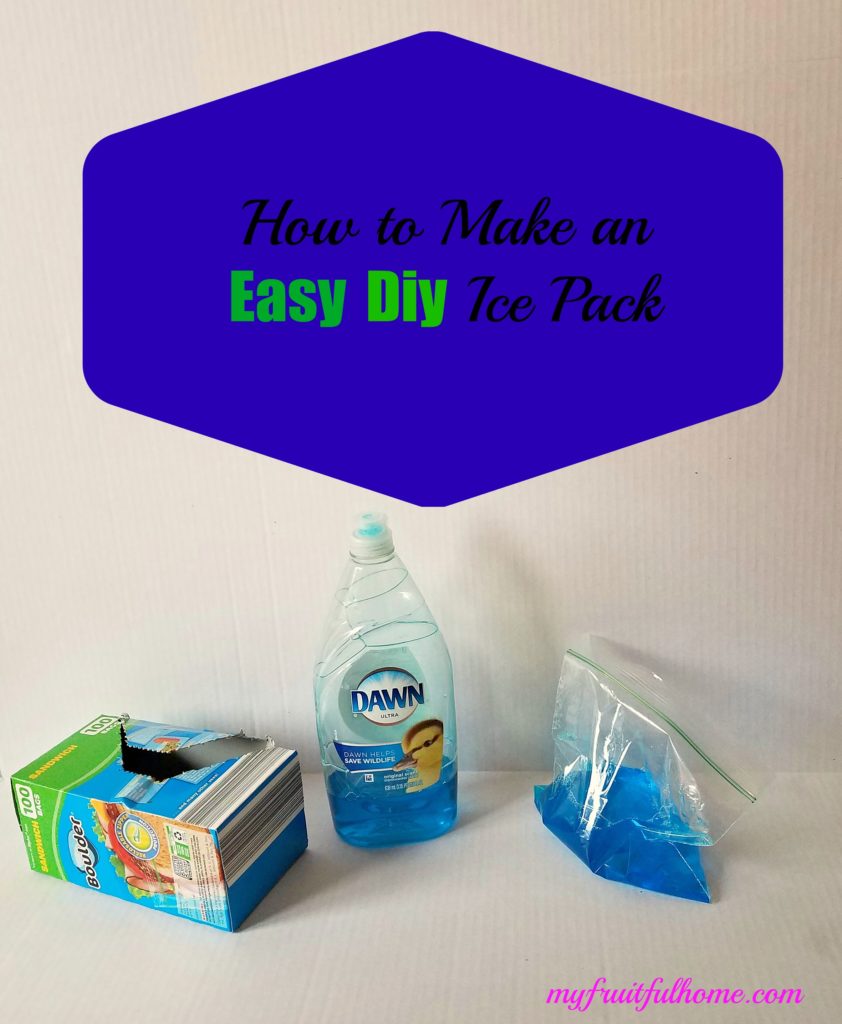
All you need for the blue ice pack is:
A zip lock bag (I got my from Aldi and used the sandwich size.) in sandwich size or gallon.
Blue Dawn dish soap (I don’t know if another brand would work. I’m going to use the Aldi brand next time.)
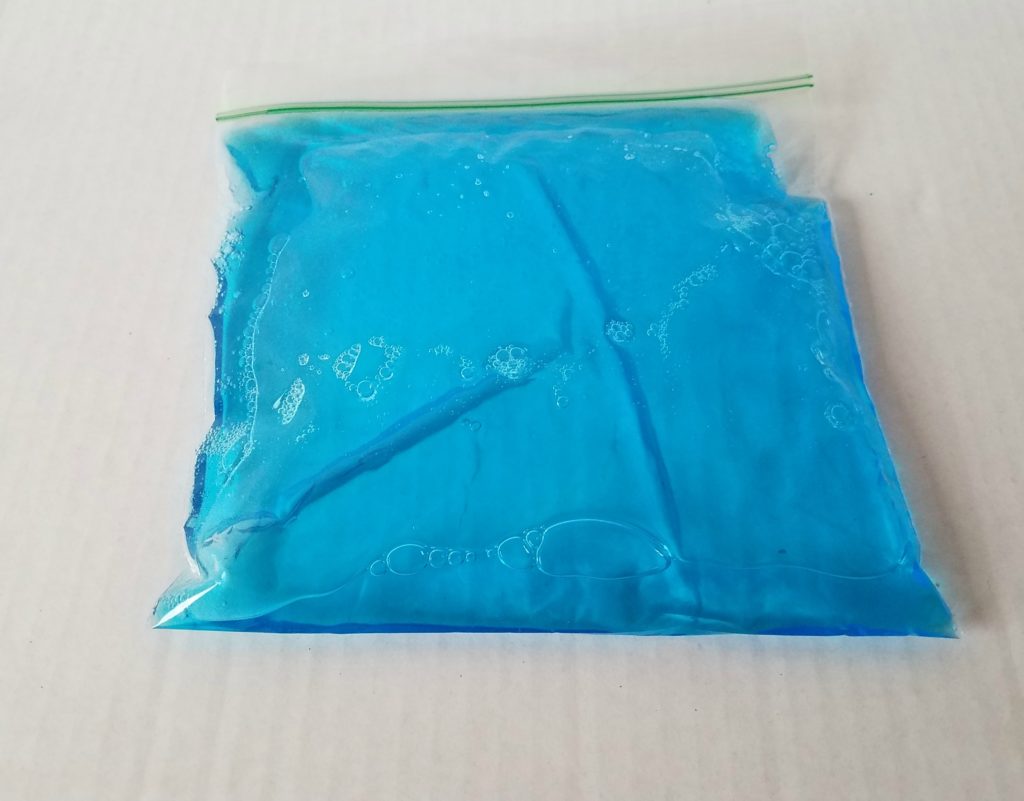
You pour the dish soap in the bag until it’s about half way full. Zip it up and stick it in the freezer. It’s that simple! You may want to double the bag or duct tape it closed if you’re worried about it leaking.
The second way to make an ice pack:
2 cups water
1 cup alcohol
2 quarter or gallon size zip lock bags
Pour ingredients in a bag and close getting as much air out as possible beforehand. Then put it inside another bag and zip closed. Freeze at least one hour.
The third way to make an ice pack:
1 sock
Rice
Put the rice in a sock and knot
Stick in freezer
I am planning on trying these other methods as well.
Do you use ice or heat?


Leave a Reply